

About a year or so ago, after my brother came home from serving his LDS mission in Chile, he and my parents returned to Chile so that my brother could show them where he served and meet some of the people he taught and served with. While there, they purchased little gifts for my children, this 6 sided puzzle was the present for my daughter. I thought it was the coolest thing. All you have to do is put one side of the puzzle together, and then just turn each section/row of the puzzle until you have a whole new puzzle on a whole new side. Its easy yet challenging and I think it puts a fun and less frustrating spin on puzzles for kids. My daughter was 4 when she got this puzzle from my parents and with in a few months could do it all on her own. So, while I was trying to come up with a new craft to do in my spare time and for my blog, I decided I was going to try to re-create this 6 sided puzzle using computer desktop backgrounds as my pictures. This way I get better than the standard clipart pictures, and also, I can find superheroes and pictures like that for my son. The cubes that you are going to be making for this puzzle are something my mom taught me how to make when I was a teenager. (That was 10+ years ago, how crazy is that?) Anyhow, after I show you pictures of the original puzzle that I am creating this tutorial after, will be the tutorial on how to make this 6-Sided Puzzle.
Here is the first side of the puzzle that my parents brought back from Chile.

I started with the left side and turned each column towards the left and I started seeing a new side to the puzzle.

Here are the rest of the sides to the puzzle.


Alrighty, now that you've seen the original puzzle that my idea stemmed from...lets make a puzzle for your son or daughter or both :)
You will need the following items:
Yarn
A Large Gage Needle (Big enough to thread yarn through)
10.5" x 13.5" Plastic Canvas Sheets(You will need at least 4 sheets of plastic canvas per 6 sided puzzle. You can buy plastic canvas at any craft store, I bought mine at Walmart, it was on the same isle as the yarn.)
Scissors
And your choice of 6 Puzzle Pictures printed onto cardstock (you can find a large selection of pictures at the end of this tutorial.)

This is a closer look at plastic canvas in case you don't know what it is....as you can see it's made up of a bunch of little tiny squares...

Step One: (Please read all of step one BEFORE you start cutting)
You will need to cut out your squares to make your puzzle boxes. Taking your plastic canvas, count out 9 little squares and cut out and entire strip that is 9 squares wide and as long as your canvas is...

When you cut, you will need to cut right along the side of that 9 squares, the other side that you will be leaving behind on your extra canvas will look kind of jagged and the squares will no longer be whole. The left over canvas should look like this after you've cut your strip off...

Here is what your strip should look like:

Now let's get rid of that jagged side on your excess canvas so you can continue to cut more strips out of your canvas. Cut it just like you did the first time, except now when you cut, your excess canvas will have a smooth side and your jagged piece will look like a "train track" (or at least thats what my 4 year old son says.)

Continue to cut out your strips until you have 6 long strips that are all 9 squares wide.

Step Two:
Continuing on making your squares, take each strip and count 9 squares and cut, you should end up with a perfect square that is 9 squares by 9 squares.

Cut off your jagged edge....

Now, to save time on couting 9 squares every time...using your last square that you just cut out, overlap it on top of your remaining canvas strip and use it as a guide to cut out the rest of your 9 by 9 squares.


Continue cutting the rest of your strips until you have cut up all 4 of your canvas sheets. When you are done cutting you will have more squares than needed....in the end you will need a total of 180 squares to complete your entire puzzle.

Step Three:
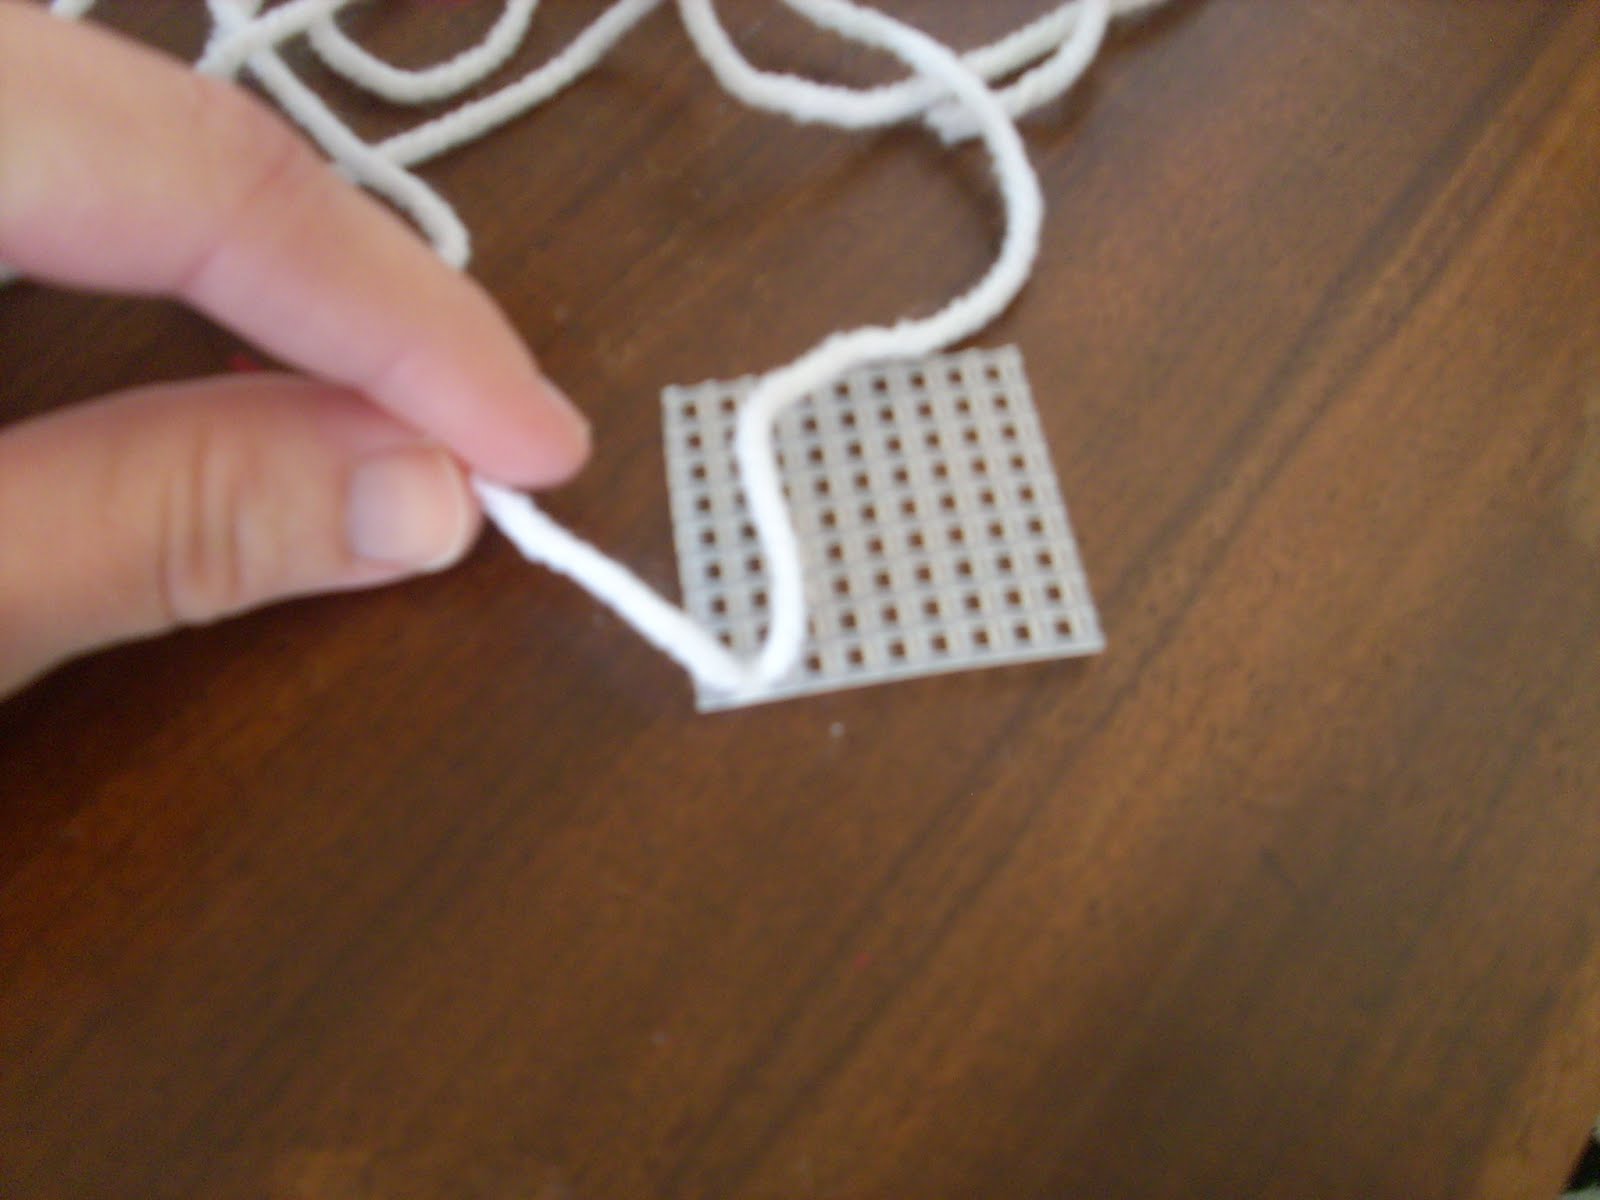
Time to start piecing and threading together your puzzle cubes/boxes. Start by cutting a piece of yarn that is roughly about 2 arm lengths long...maybe 3 feet long? Thread it through the top left corner square of your 9 by 9 canvas square.

Continue threading the yarn through until you've just about reached the end...holding that end, bring the needle and yarn back through the second square (next to the first square you just threaded through) until your yarn is through and tight. Keep hanging onto that end so your yarn doesn't come out.


Now tie a knot using the end of the yarn and the excess yarn that you have...

Step Four:
Now let's start connecting pieces...
Take your first square that you just threaded and tied and overlap another square over it so that the tiny end piece of yarn is between the 2 squares.

Now start threading your yarn through BOTH canvas squares starting with the top left square (I always start with the left and work towards the right side, but its your choice.)

Now bring the yarn back OVER the top of the canvas squares and thread back through the front again, do not come back through the backside.


Keep repeating the threading process of over and through until you have stitched the ONE side of the 2 canvas squares together like this....

When you open up the 2 squares, it should look like this...

Step Five:
Now lets add another side to your puzzle cube. Take another canvas square and overlap it on top of the square that is on the right hand side of the 2 squares that you just threaded together. Keep in mind that the little piece of yarn from the beginning needs to stay INSIDE your cube.

Begin threading again until you have completed that side....

Your puzzle cube should look like this now:

Step Six:
Time to add the fourth side to your cube. Just like you did before. Overlap the middle square this time (the one that has 2 squared already threaded to it) with another canvas square. Thread it together with the middle square.

Now your puzzle cube should be looking like this:

Step Seven:
Now lets add the fifth side to your cube. Once again, overlap a canvas square on top of the middle square of your threaded cube. You will now be threading the only side left that needs to be threaded on that middle square.

Once again, take a look at your puzzle cube so far, does it look like this? If not, either I am not explaining this right, or maybe you might have missed a step. Remember, you are always welcome to email me with your questions.

Step Eight:
We can't add the sixth side just yet, so lets start threading sides together. Fold up your sides on your cube like this...

Start threading those 2 sides together, they should be the sides that are closest to where you last stopped threading with your needle and yarn.


Remember to keep that little piece of thread from the beginning inside your cube:

Does your cube look like this so far? Oh I hope so...


Step Nine:
Now its time to add your sixth side. Taking your last piece of canvas square, overlap it INSIDE the cube, making sure that the canvas square that you are about to insert that it's top eft corner is lined up with the top left corner of the last canvas square that you just got done threading...

Now thread those 2 pieces together from right to left....you cube should now look like this:

Step Ten:
Now fold that top canvas square down that you just attached and start threading the rest of the puzzle cube sides together:


When you hit a spot where you have already threaded the sides together, but you need to get to another side that has yet to be threaded, just simply send your needle and yarn through the loops of a side that you have already threaded to get you to that side that now needs to be threaded. (Oh boy I hope the pictures are making up for my lack of explaining very well.)


Keep repeating steps as necessary until you have threaded all sides. When you have threaded all of your sides, send your need back through 2 of the canvas squares and create a loop for your needle to go through to make a knot to tie off the end and cut it.


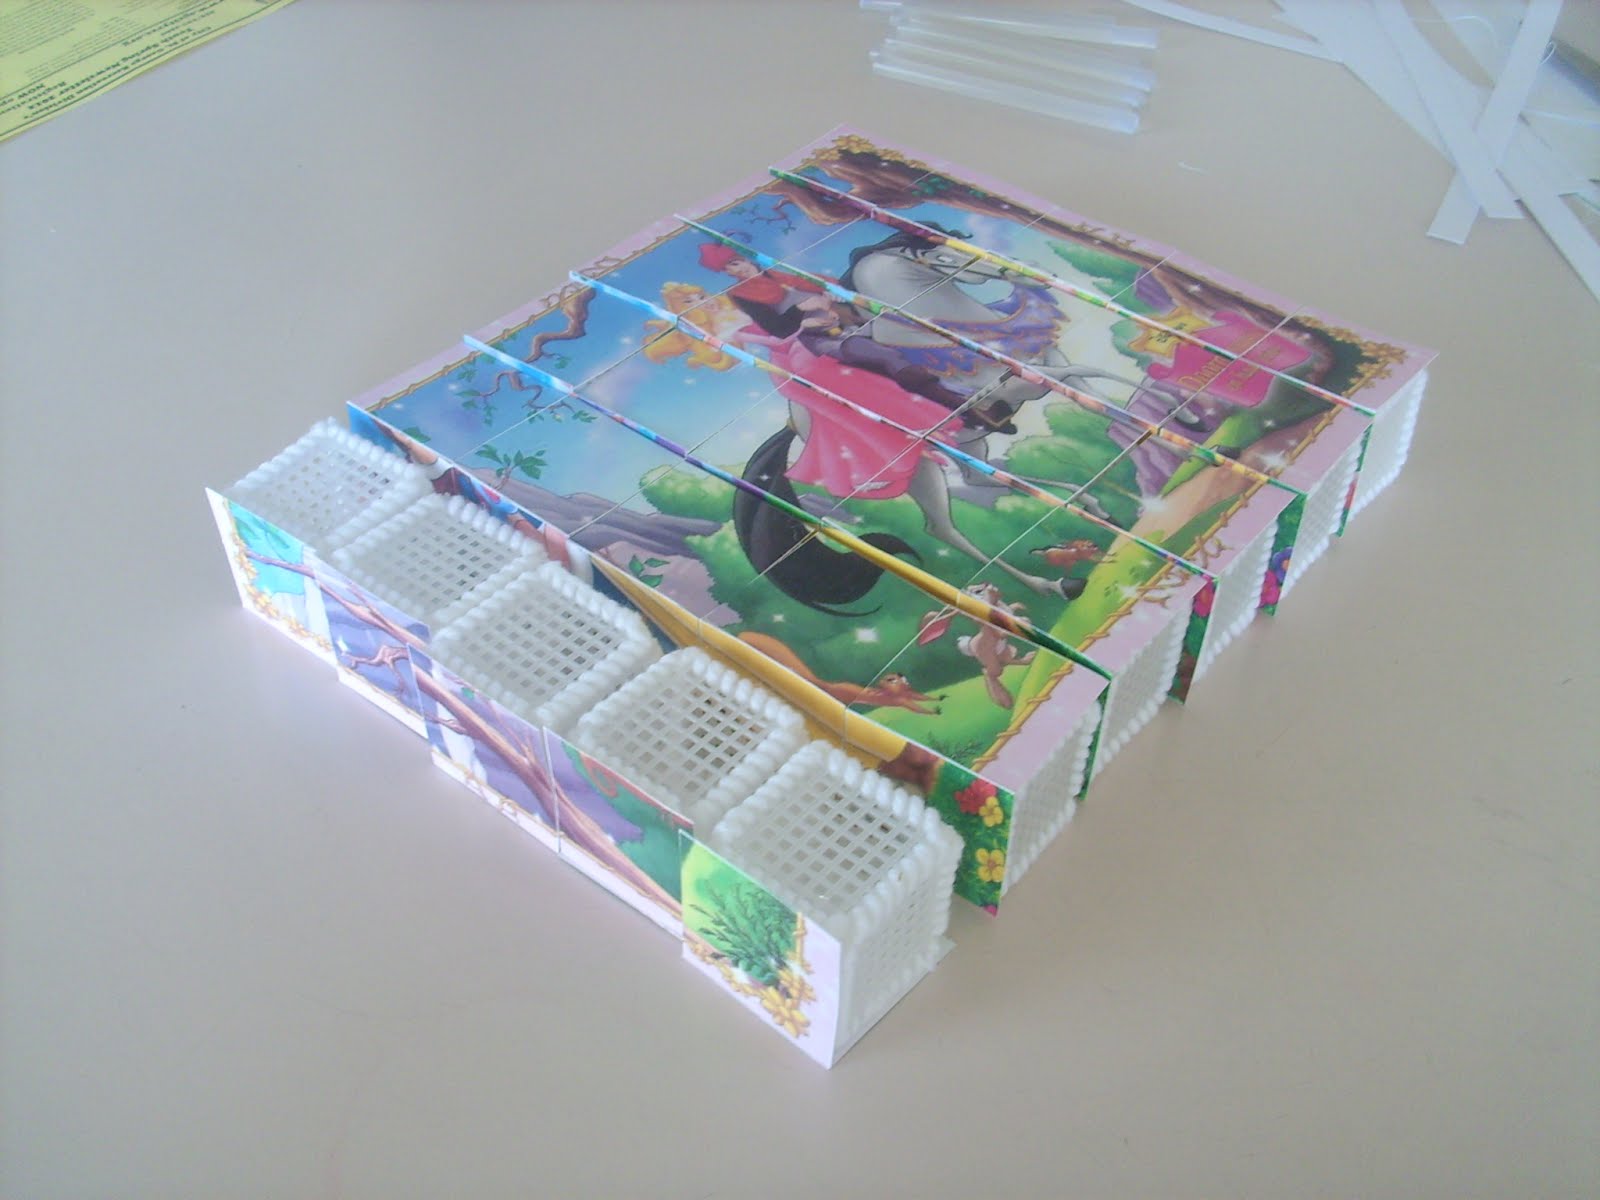
Now do you have a completed cube that looks like this with all the sides threaded? I hope so! I hope I've explained all of this well enough with words and pictures, I promise, these are really easy to make!

Continue making cubes until you have a total of 30 cubes. (You need 30 cubes for each 6 sided puzzle that you are making.)

Plug in your hot glue gun and let it warm up while you are doing this next part....

Ok, now it's time to cut and glue your pictures to your cubes. ONLY CUT ONE PICTURE AT A TIME!!! This helps you so you don't have to be putting the puzzle together as you go. So choose your first picture and cut it out...

Once you have cut it out, begin glueing each of the 30 squares of the picture onto each of the 30 cubes....


Once you have glued all the 30 squares on, put them in order, and then starting with the left side, rotate each row towards the left, turning each row only once....


Now repeat the cutting and gluing steps for your next picture...then once again, starting with the left side of your picture, rotate each row to the left again...


Repeat again, rotating at the left side once again...


Reapeat again except this time, you won't be rotating from the left. This time you will start at the top of the puzzle and rotate up....


Reapeat the cutting and gluing process for the fifth time, and then you will rotate from the top again, except this time you will rotate twice until you get to the final blank side....


Now you will repeat the cutting and gluing process for the last time, gluing your last puzzle picture on and your done! I hope your little girl or boy enjoys! Don't forget to check the end of this blog post for all of the different puzzles you can do! :) Of course, these are just the ones I thought of; if you don't see a theme your child would like, make a request and I will try my hardest to find them for you! :)

6-Sided Puzzle Pictures:
Disney Princesses....


Disney Fairies: Tinkerbell & Friends...


My Little Pony...


Littlest Pet Shop...


Barbie...


X-Men...


Super Heroes...


Transformers...


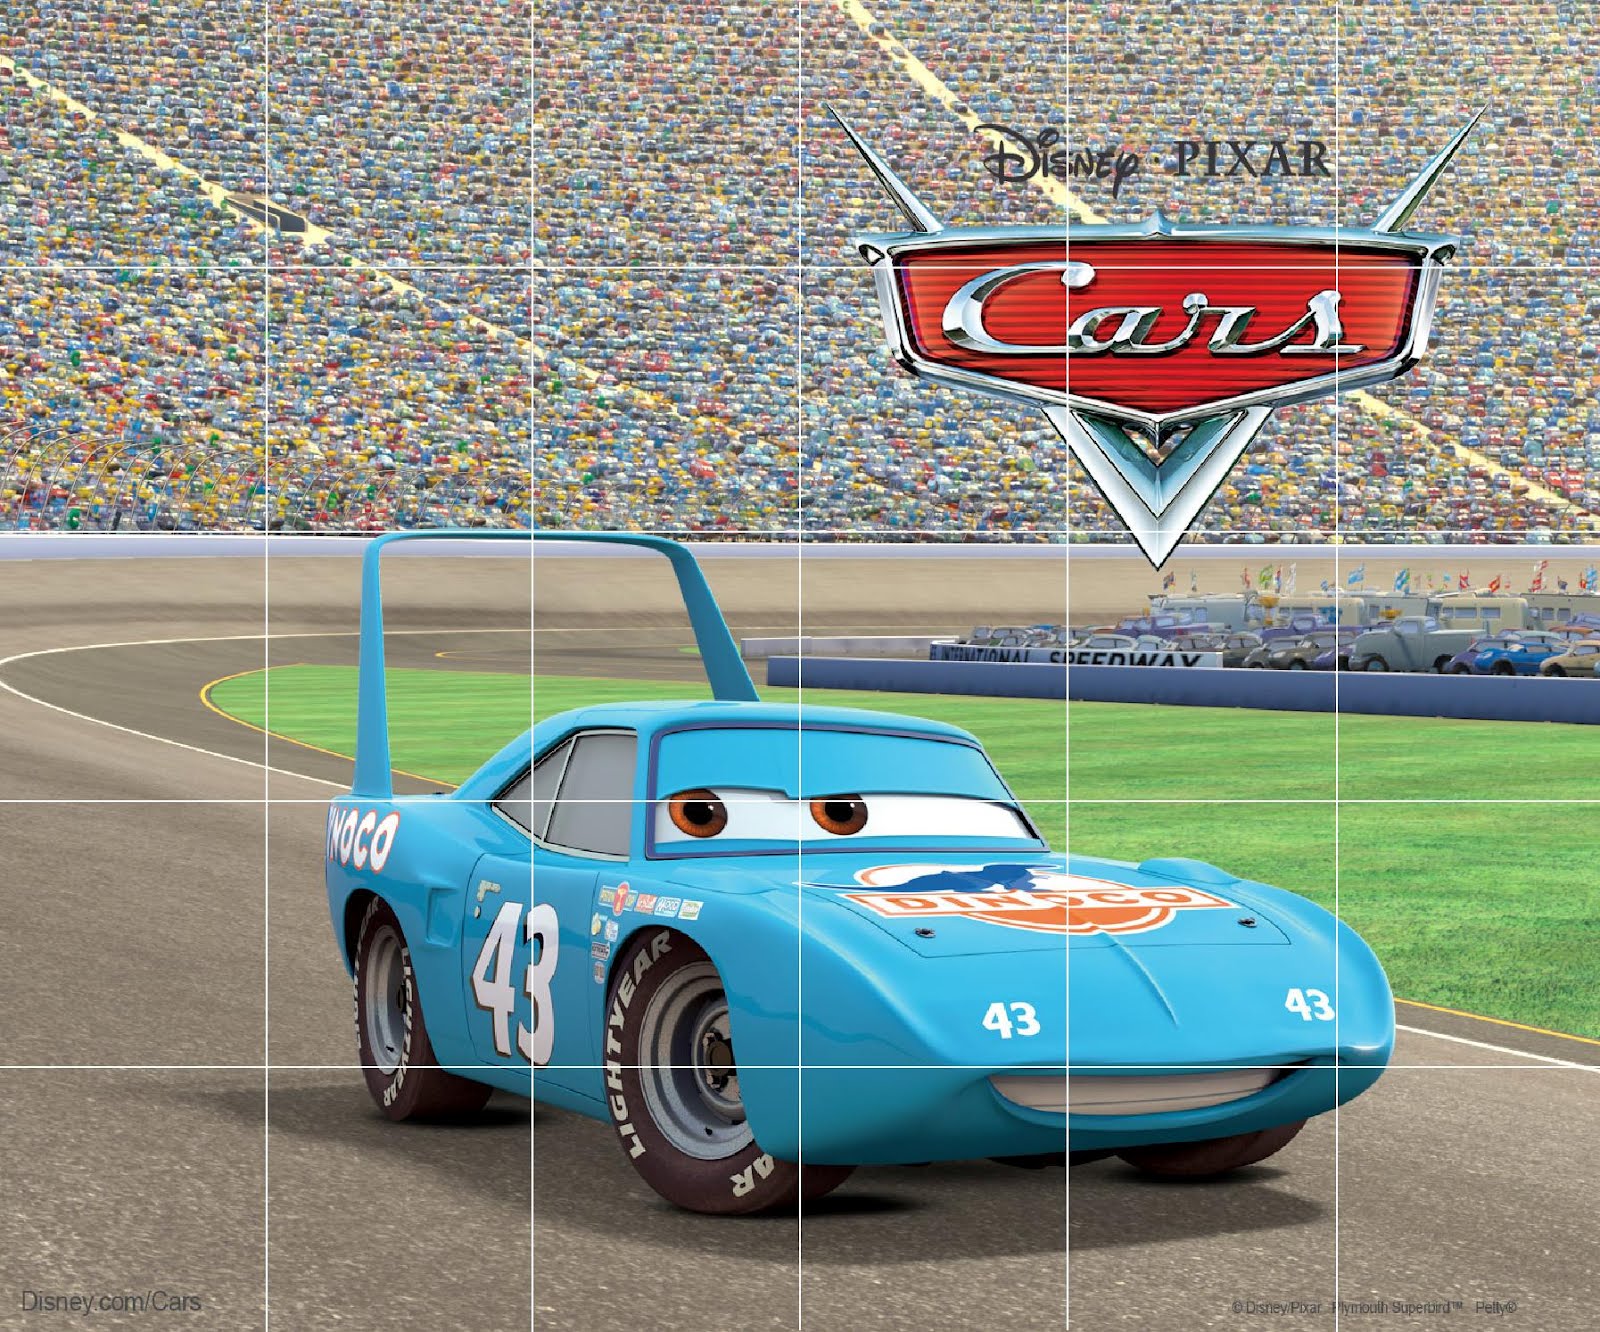
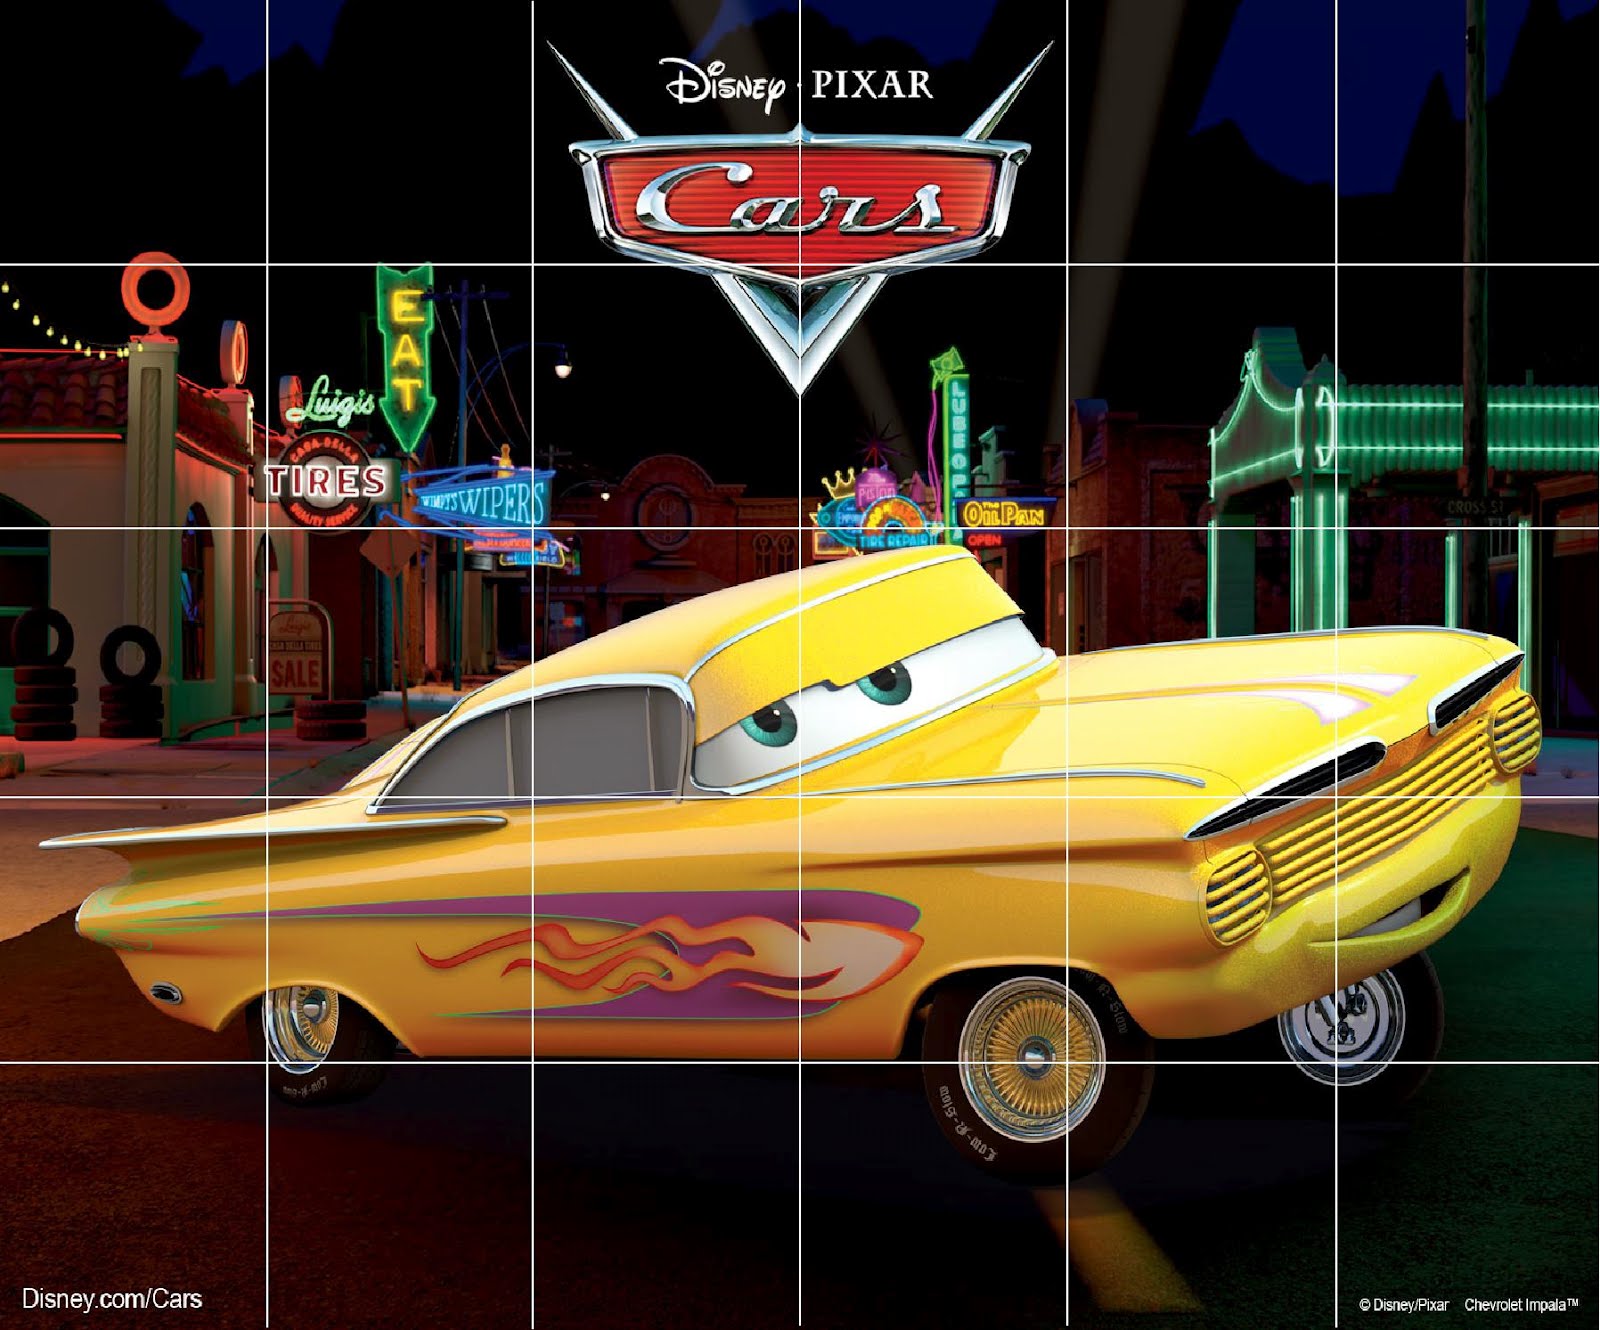
Cars...


No comments:
Post a Comment
Note: Only a member of this blog may post a comment.